The source - Unreality Bites Building Structures, YouTube tutorial I followed. https://www.youtube.com/watch?v=pg8gx20jnOI&t=1140s
Working previously in Maya and Blender I knew it is a common practice to create geometry on the curves. After research, I found the tutorial that allowed me to build the blueprint for The Construction Spline.
The first version of the Blueprint was workable but was creating problems where the spline was changing direction - sharp angles of the spline were changed to the curves when its ending point was not exactly the length of the segment. The other problem was a very similar issue - that the spine of the length other than the segments multiplied wasn't covered by the mesh.
The second version of the BP was more complicated and fixed that issue by creating the mesh on the distance in between individual spine points, and calculating it on depending on that distance, rather than spawning it as individual wall segments.
The last problem I encountered was adding the collision system to the spline. It didn't take the collision from the mesh itself, it was impossible to put it on the construction spline neither. I ended up editing the details of spline mesh component system. Working with the spline I created using the tutorial was straightforward - it came down to moving and extruding the curve points, and constructing the Maze required a lot of duplicating to create geometry.
It massively speeded up my workflow and made texturing the walls and adding detail to it quite easy.
First Version - detailed description when zooming in the nodes
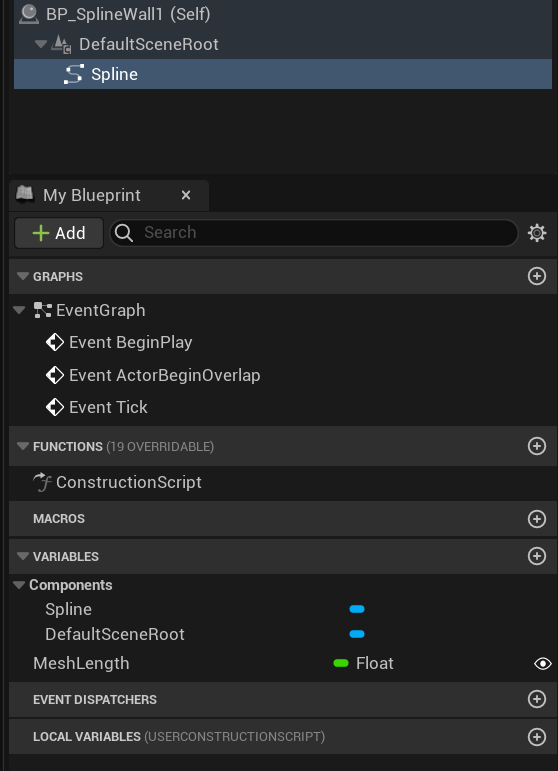
Components of the Construction Spline for the first version
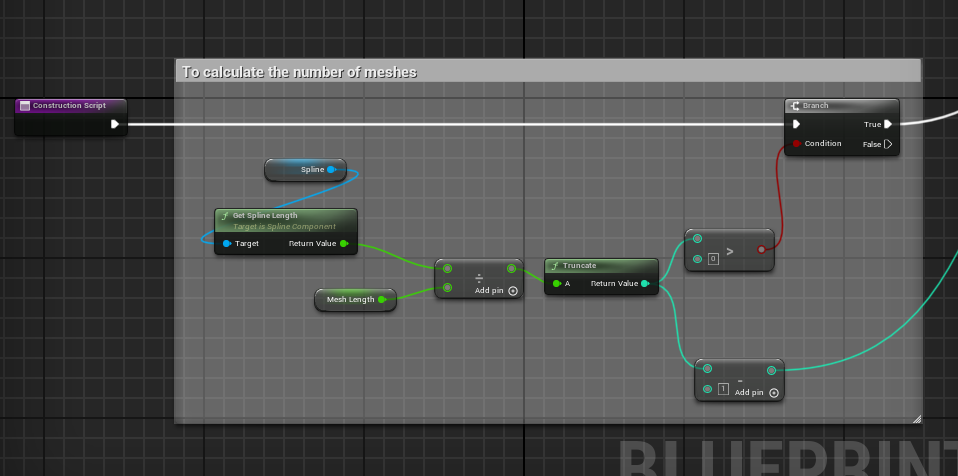
First Version - construction script and calculating the number of segments used in the spline
First Version - The Loop node and calculating start and end segments of the construction spline
First Version - adding the mesh component to the spline
Second Version - detailed description when zooming in the nodes
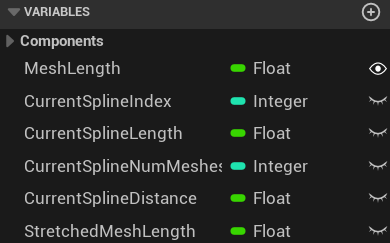
Variables created for the second version
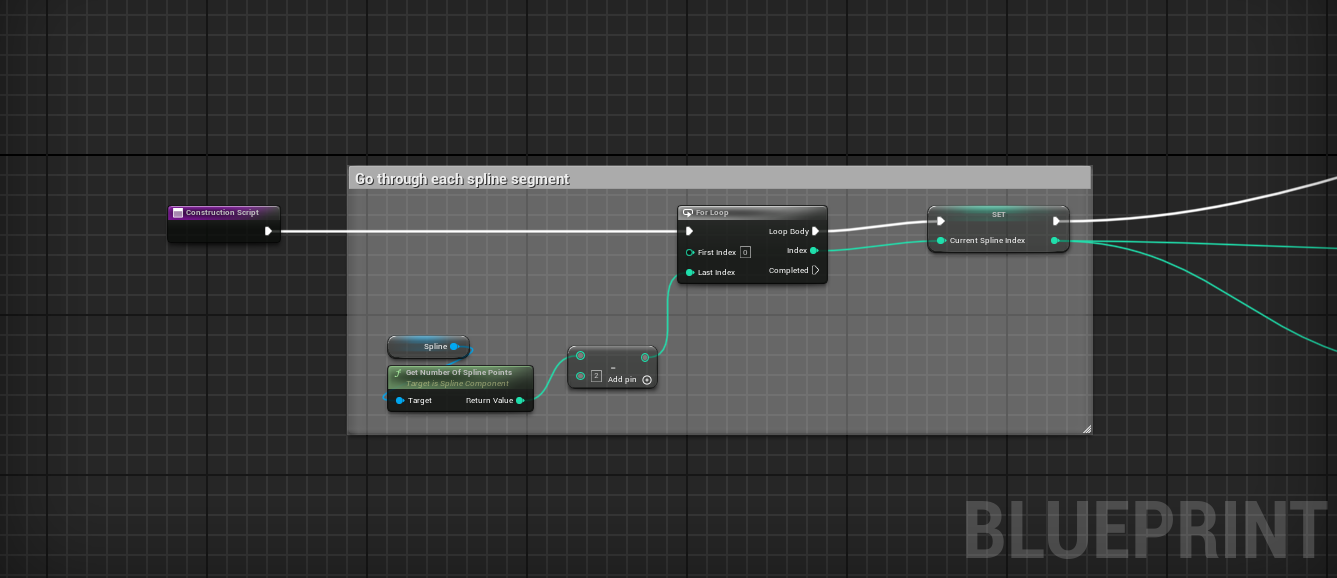
Second version - looping each spline segment with function to get the number of spline points.
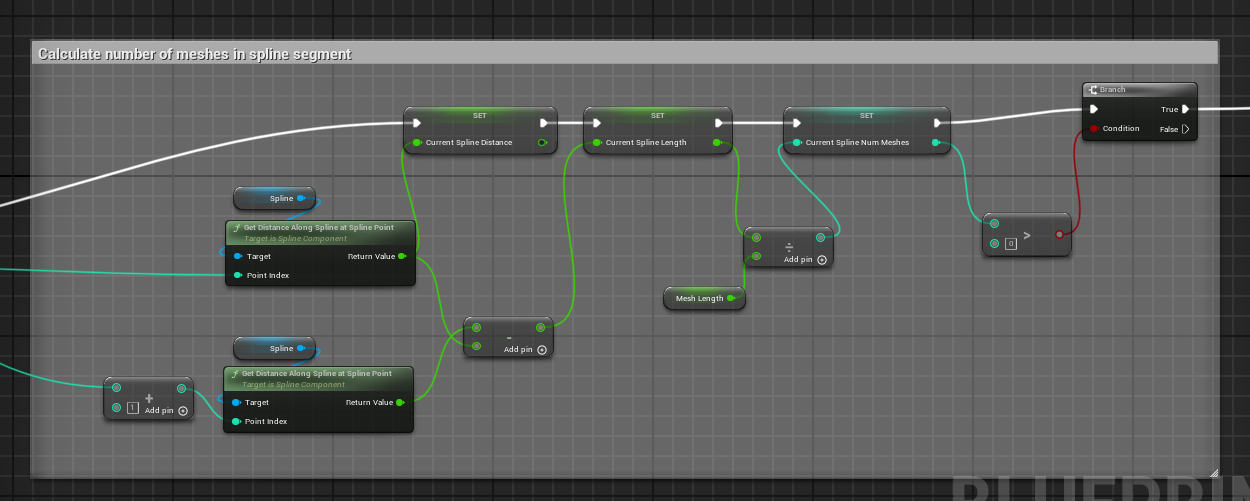
Second version - calculating the number of segments in-between two spline points
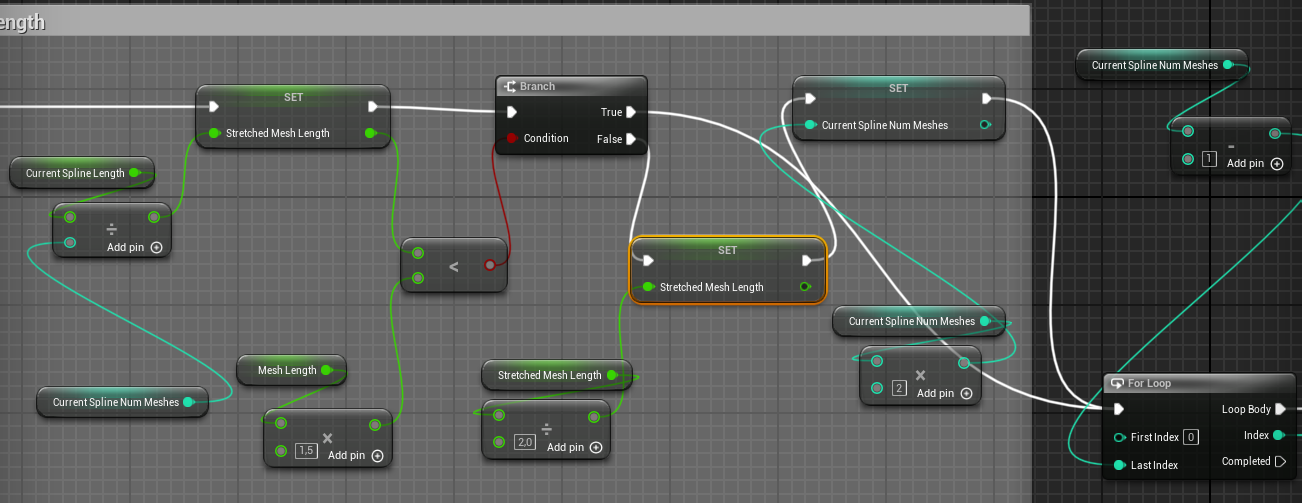
Second version - calculating the stretched mesh length
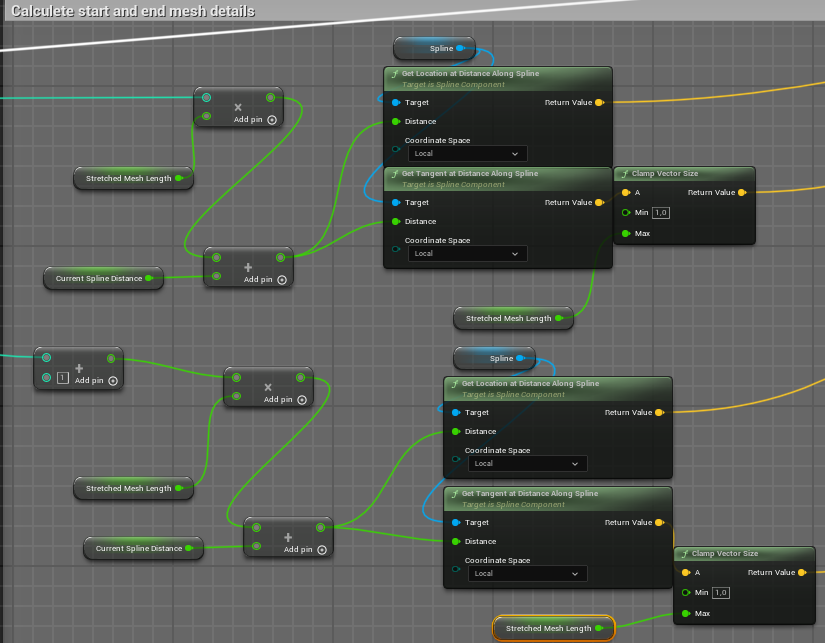
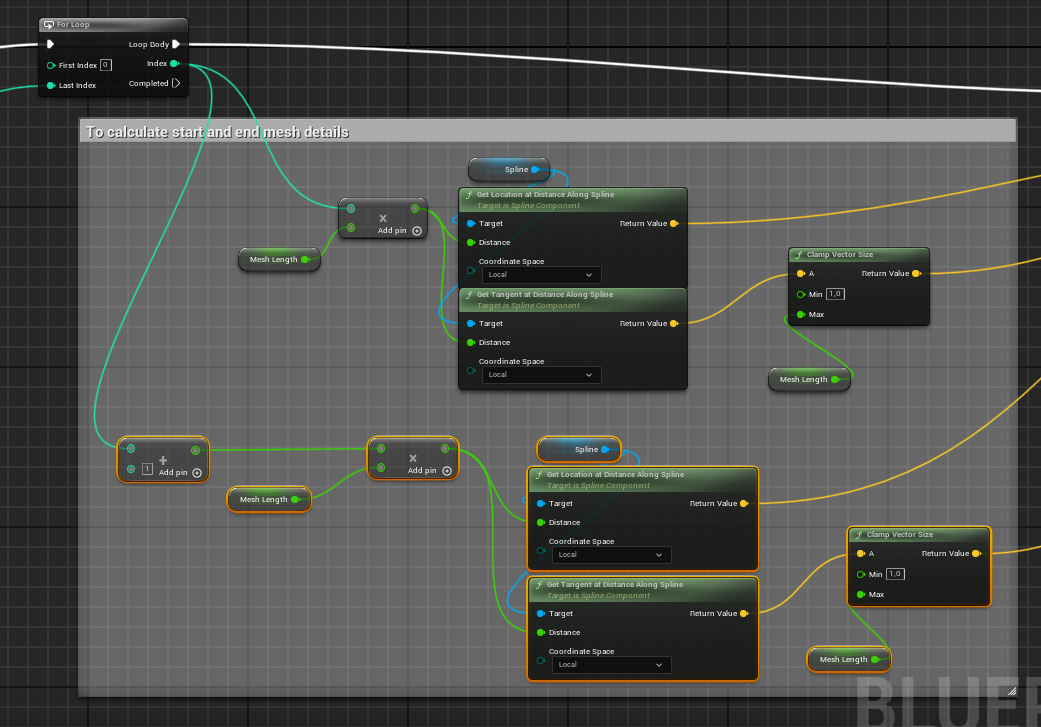
Second version - calculating the start and end mesh details

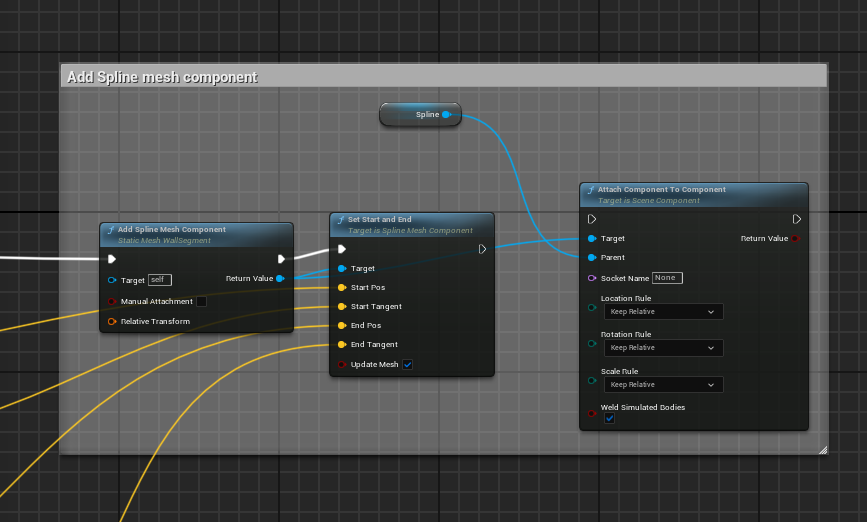
Second version - Adding the mesh to the spline remains the same
Creating walls with the construction spline BP - detailed description when zooming in the pictures
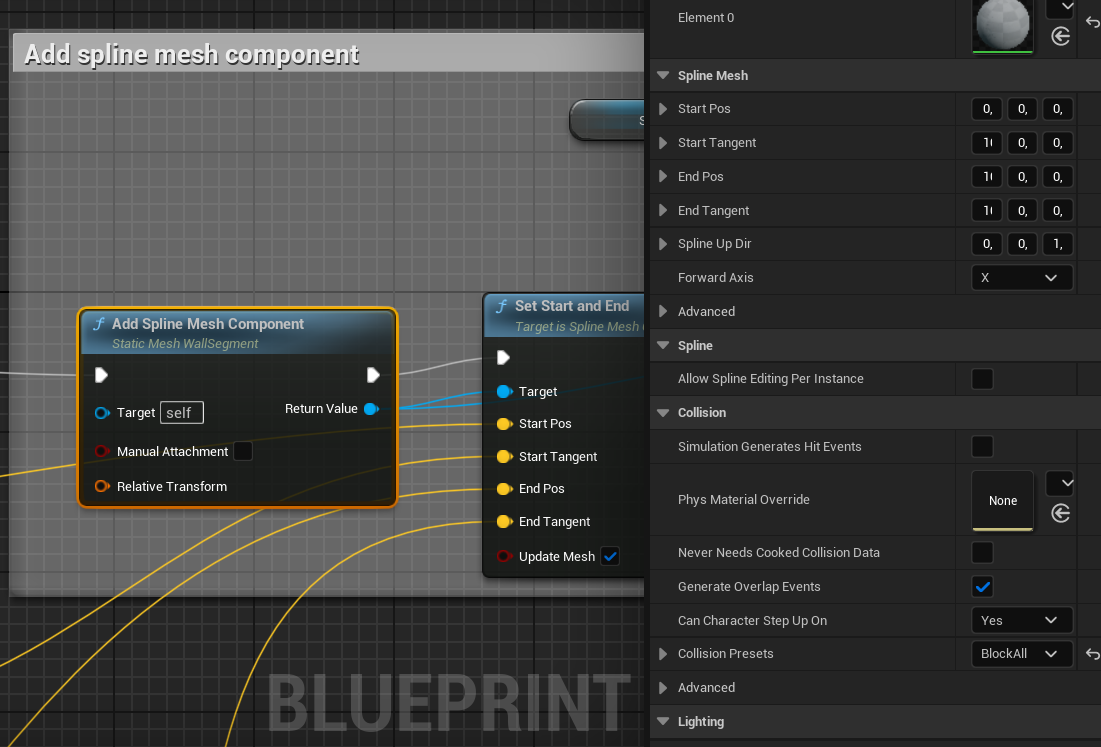
Adding the collision to the spline mesh component
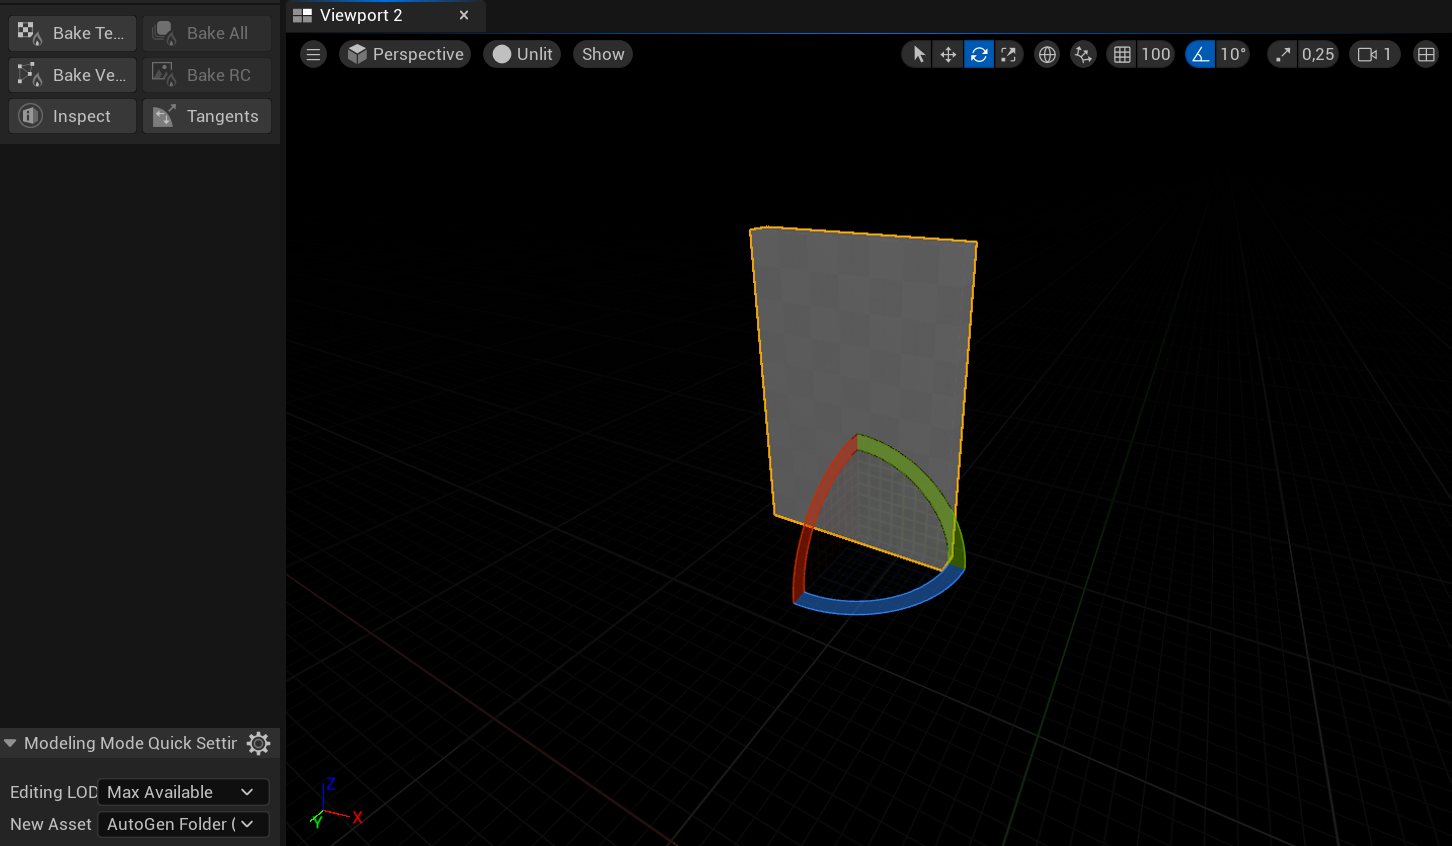
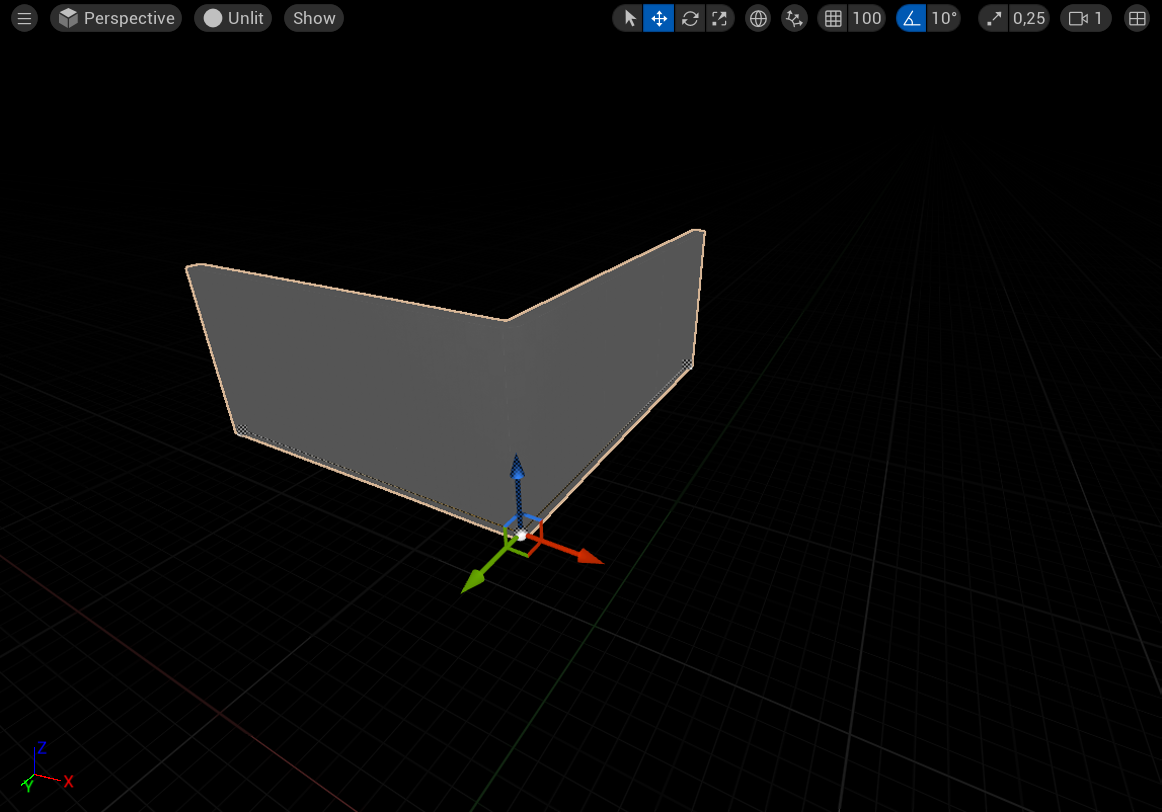
Adjusting rotation of the source wall segment so it follows the spline BP axis
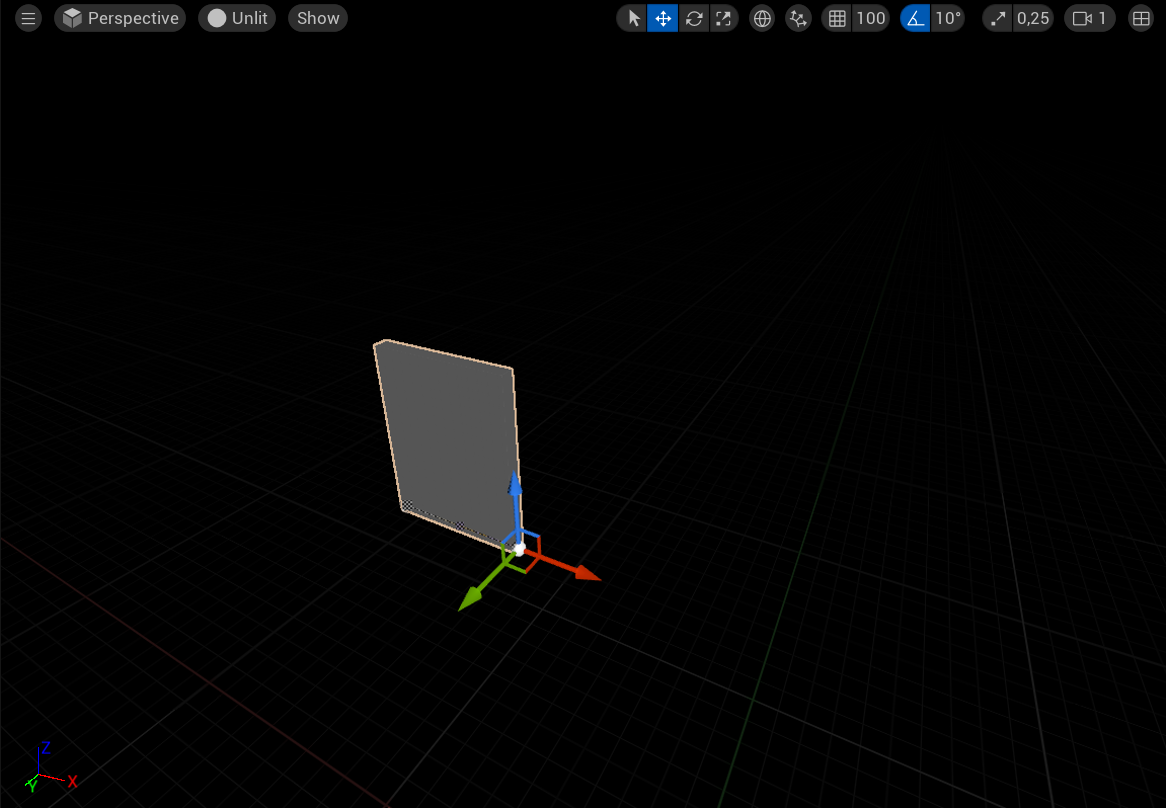
Selecting the spline point
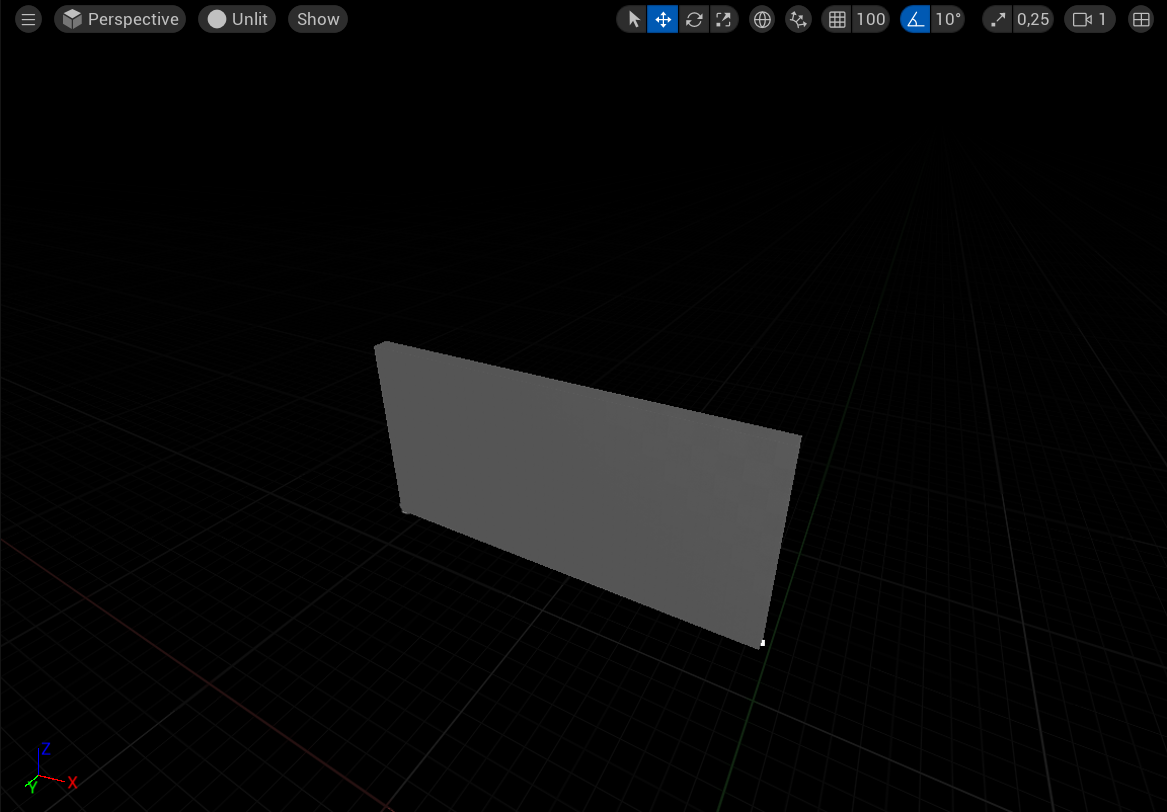
Moving the spline point to create geometry
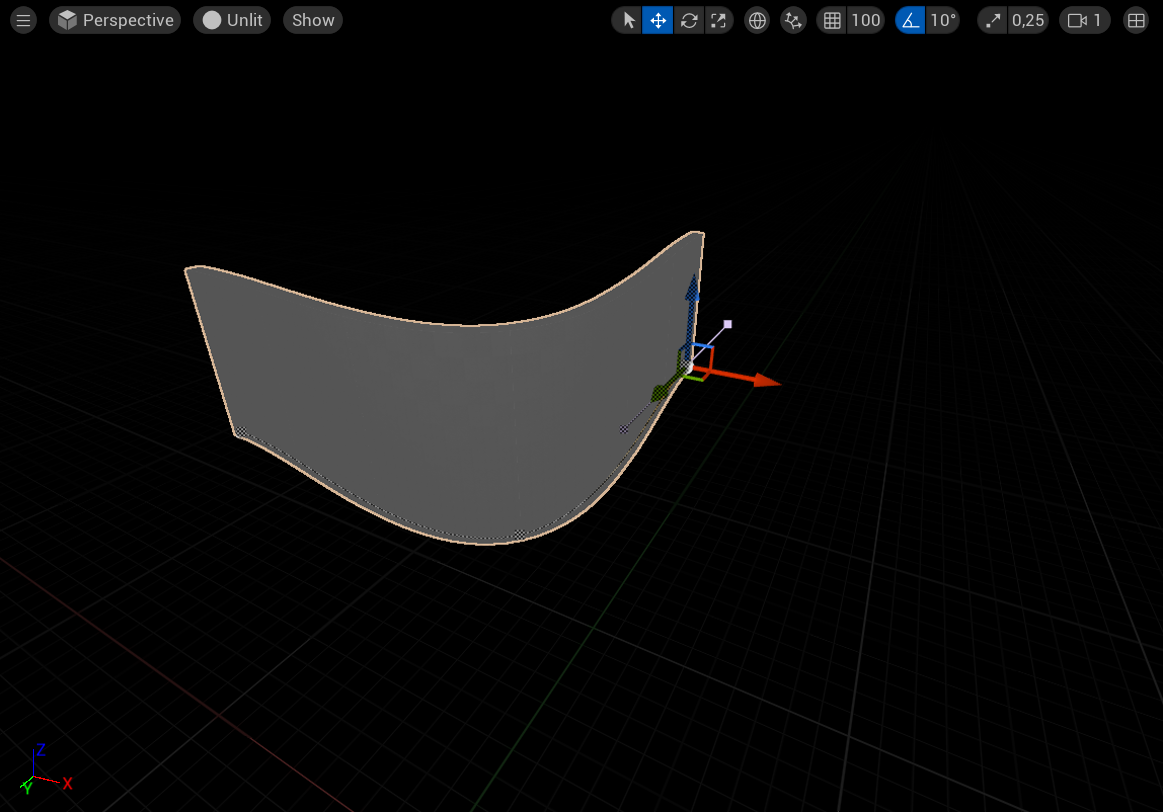
Changing direction - extruding the spline point with ALT key